


How to change a toilet flapper
- Jun 20, 2015
- 2 min read
An old toilet flapper can be the cause for a running toilet. Since this part is made of rubber it can get hard and break down over time. Once the plastic is worn out it will not form a tight enough seal to stop the flow of water as it should.
Luckily the flapper is an inexpensive part that can be easily replaced. If you have narrowed down the problem of your running toilet to a bad toilet flapper this quick fix can solve the problem.

The first thing to do is to turn the water to the toilet off. To drain the toilet tank simply flush the toilet after the water is turned off.
You can sponge out any remaining water if you want, but this is not strictly necessary.

Now you need to remove the old toilet flapper. To do this, first unhinge the chain from the toilet handle rod. Next pull each side, or ear, of the flapper out to unhook it from the flush valve.
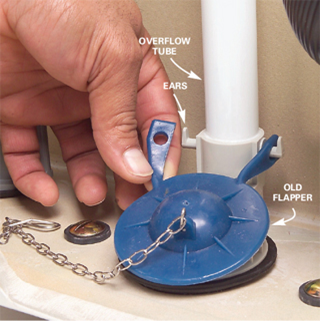
The most common toilet configuration has the flapper attached by the ears on the sides of the flush valve. If this is how your toilet is built you will need to cut off the ring on the back of the flapper.
If your fill valve doesn’t have the side hooks for the flapper you will need to use the ring to slide the flapper into place.
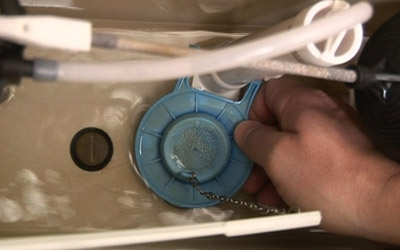
Put the new flapper into place and hook each ear onto the flush valve.
Connect the flapper chain onto the toilet handle rod. Make any necessary adjustments to the chain. It needs to be long enough to allow the flapper to sit firmly in place but not so long that it gets caught under the flapper as the water rushes out.
Turn the water back on and test by flushing a couple of times.


Comments